Composting at home is a fantastic way to reduce waste, enrich your garden soil, and contribute to a healthier environment. If you’re new to composting, it might seem a bit overwhelming at first, but with some basic guidance, you can start turning everyday kitchen scraps and yard waste into valuable compost. In this post, we’ll walk you through essential tips to make your home composting journey easy and successful.
What Is Composting?
Composting is the natural process of recycling organic materials, such as food scraps and yard waste, into a nutrient-rich soil amendment. Instead of sending these materials to the landfill, composting helps them break down through microbial activity, resulting in a dark, earthy substance that improves garden soil.
Benefits of Composting at Home
– Reduces Waste: Keeps organics out of landfills, lowering your household waste.
– Enriches Soil: Compost improves soil texture, moisture retention, and fertility.
– Saves Money: Less need for chemical fertilizers and soil conditioners.
– Supports Plants: Healthy soil means healthier plants and more productive gardens.
– Environmentally Friendly: Helps reduce greenhouse gas emissions from organic waste.
Getting Started: Basic Equipment You’ll Need
Starting a compost pile doesn’t require much, but here are some helpful essentials:
– Compost Bin or Pile: Choose a bin or designate a spot in your yard. Bins help contain materials and speed decomposition.
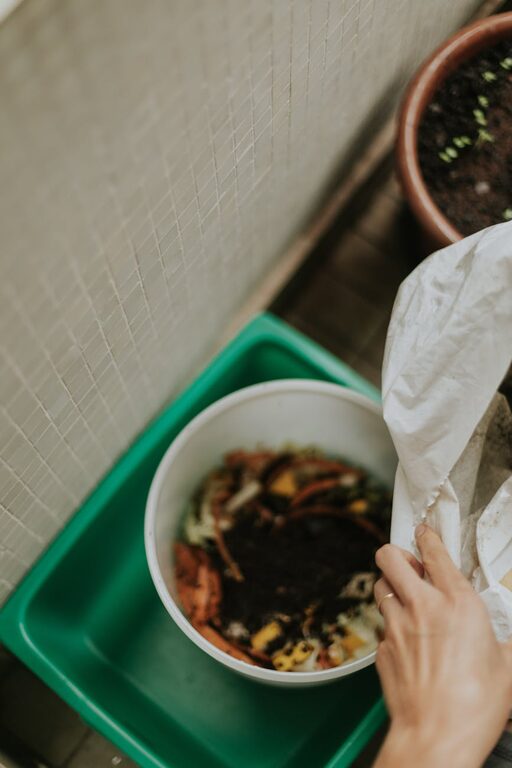
– Kitchen Scrap Container: Use a small, covered bucket or compost pail to collect scraps before transferring them outside.
– Garden Tools: A pitchfork or shovel helps turn your compost to aerate it.
– Water Source: Compost needs moisture, so keep a hose or watering can nearby.
Step-by-Step Beginner Composting Tips
1. Choose the Right Spot
Pick a dry, shady or partly sunny area near a water source for your compost bin or pile. Good drainage helps prevent soggy compost and bad odors.
2. Balance Your Greens and Browns
Composting materials are typically categorized into two groups:
– Greens: Nitrogen-rich items like fruit and vegetable scraps, grass clippings, coffee grounds.
– Browns: Carbon-rich materials such as dried leaves, straw, cardboard, and paper.
Aim for roughly 3 parts browns to 1 part greens by volume. Browns provide carbon and help balance moisture, while greens supply nitrogen needed by microbes.
3. Chop or Shred Materials
Smaller pieces break down faster. Chop vegetable scraps and shred leaves or paper before adding to your compost.
4. Layering Is Key
Start with a layer of coarse browns (twigs or straw) to help air flow at the bottom. Alternate layers of greens and browns, adding water as you go to keep the pile moist but not wet.
5. Keep It Moist
Your compost should feel like a wrung-out sponge — damp but not dripping. Water dry piles occasionally, especially during hot or dry weather.
6. Aerate by Turning
Oxygen supports the microbes breaking down materials. Use a pitchfork or shovel to turn your pile every 1-2 weeks to mix it and introduce air.
7. Know What NOT to Compost
To avoid pests, odors, or slow decomposition, keep these out:
– Meat, bones, fish scraps
– Dairy products
– Oils and fats
– Diseased plants or weeds gone to seed
– Pet waste
8. Be Patient
Depending on conditions, compost can be ready in 2-6 months. Finished compost is dark, crumbly, and smells earthy.
Troubleshooting Common Compost Problems
– Bad Smell: Usually caused by too much moisture or too many greens. Add more browns and turn the pile.
– Pile Too Dry: Microbes need moisture to work. Sprinkle water evenly.
– No Heat: Check the mix balance and moisture. Adding more greens can help heat up the pile.
– Pests: Avoid food scraps that attract animals. Secure your bin or cover scraps with browns.
Using Your Finished Compost
Once your compost is ready, use it to:
– Mix into garden beds or pots to improve soil quality.
– Mulch around plants to conserve moisture and suppress weeds.
– Feed lawns by spreading a thin layer on top.
Additional Tips for Success
– Collect scraps daily to prevent odors in the kitchen.
– Use a compost thermometer for more precise temperature monitoring (optional).
– Consider vermicomposting (using worms) if you have limited space or want faster compost.
Conclusion
Composting at home is an easy and rewarding way to manage waste and improve your garden. With some simple tools, a little know-how, and regular care, you’ll soon have nutrient-packed compost ready to boost your plants. Start small, observe the process, and enjoy the benefits of greener gardening!
Happy composting!